Interior Design

AI Closet Design

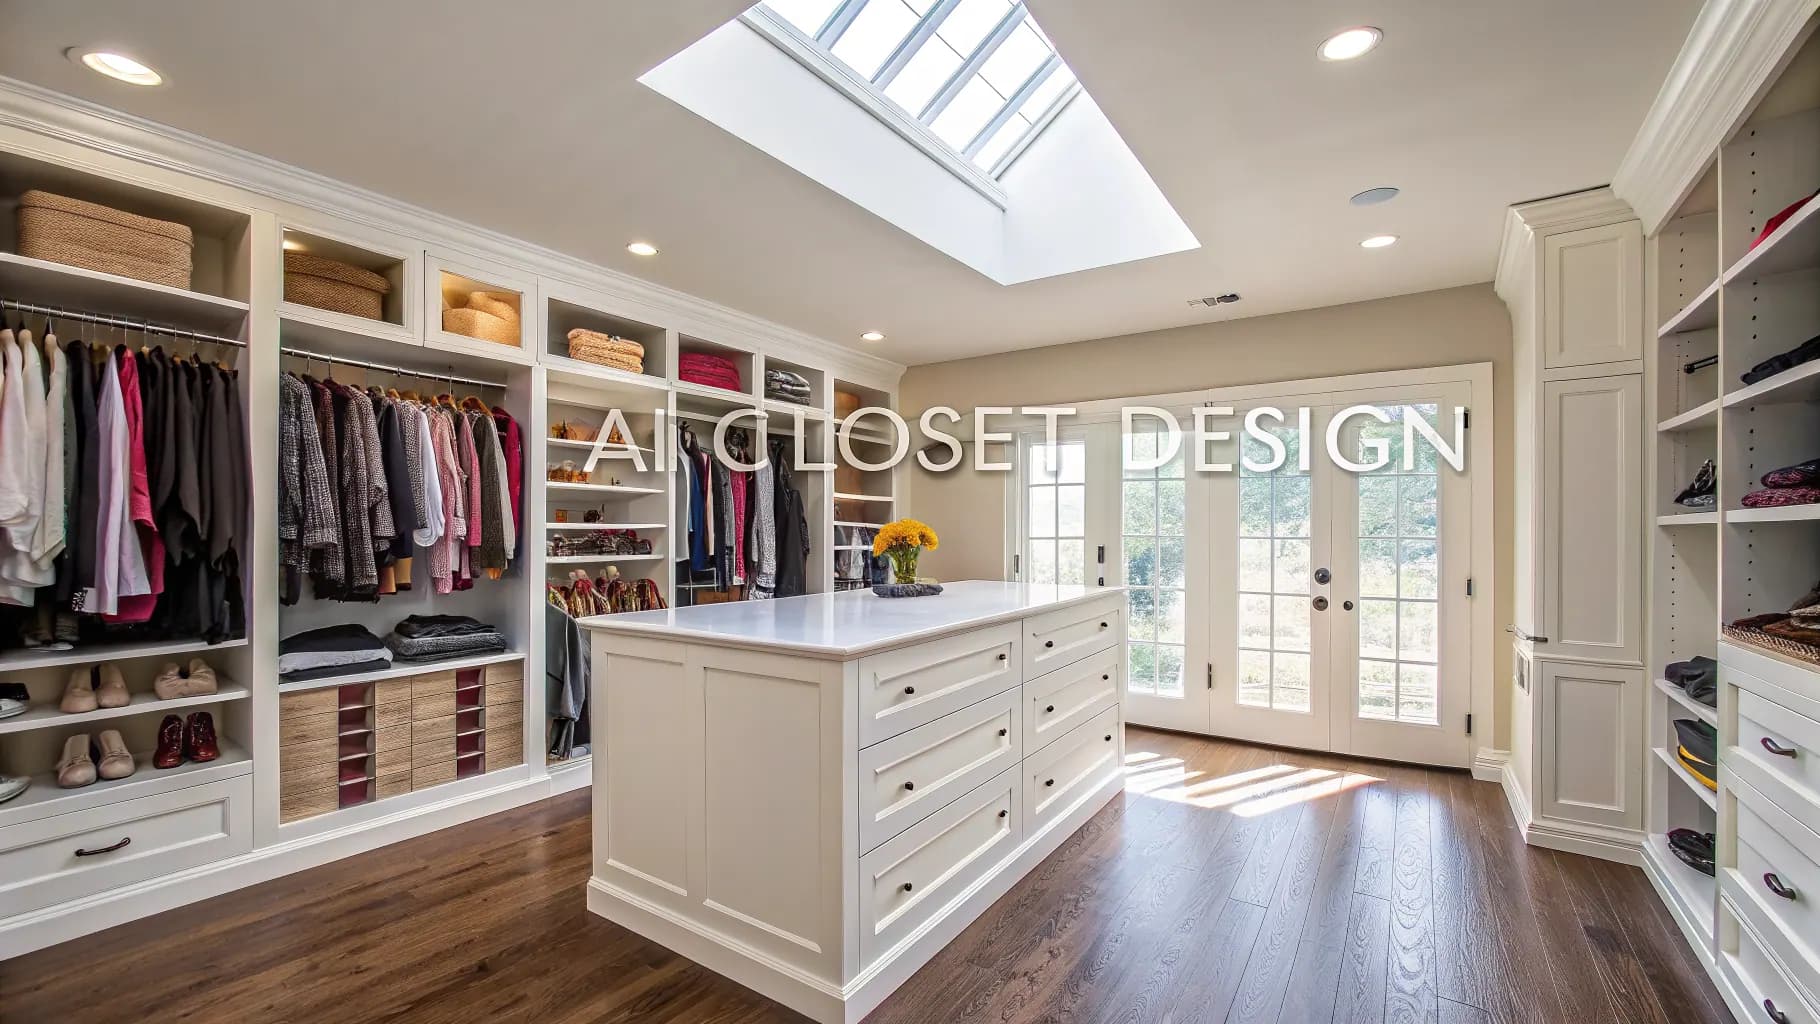
Explore the look of a walk-in closet or wardrobe from your own photo. Compare visual styles and finishes as a brief for a cabinet maker. AI Renovation does not generate measured shelving plans or a cabinet cut list.

Preview a closet look. There are no measured shelving plans, cabinet cut lists or fit guarantees. An account is required to generate. Image generations use one credit; Custom prompt requires a paid plan. See pricing for allowances. View plans and credits.
Varies by imageRender time
Design previewOutput
.jpg, .pngPhoto input
AI Closet Design hero

Illustrative design concept; not a verified Studio result.

How to use

Three steps, start to finish.

Start with a photo, choose a direction and review the generated concept.

01
Photograph the storage area
Show the full opening, existing shelves and nearby doors in a JPG or PNG. Keep a separate record of real widths, heights and depths. The photo does not establish scale.
02
Choose an interior style
The page opens Interior restyle. Upload the photo and select an interior preset. For a written request about a closet appearance, select Custom prompt; that mode requires a paid plan.
03
Review one concept at a time
Sign in and generate an image using one credit. Compare it with the original and repeat only when another direction would help. Take the visual and your measurements to a cabinet maker.
Pro tips

Better briefs, better renders.

Prepare a clearer brief and check the details that matter in your result.

Tip · 01
Use high-quality photos
Upload sharp images shot at 1024px or larger. Well-lit, in-focus photos produce sharper, more realistic output.
Tip · 02
Lighting matters
Even, natural daylight reads best. Avoid harsh shadows or overly dark corners. The model infers material from light.
Tip · 03
Try multiple styles
Run the same room through two or three directions before locking one. You often discover a look you hadn't imagined.
Tip · 04
Clear the clutter
Minimal clutter lets the model understand room structure. Tidy visible surfaces before you shoot.
Tip · 05
Shoot multiple angles
Generate from the door, from the window, from the corner. The best angle is rarely the first one you try.
Tip · 06
Save and compare
Keep a project for each space. Compare variants side-by-side, share them with contractors, and refine from there.
Features

Everything you need, nothing you don't.

Capabilities designed to move a single decision from guesswork to clarity.

Feature · 01
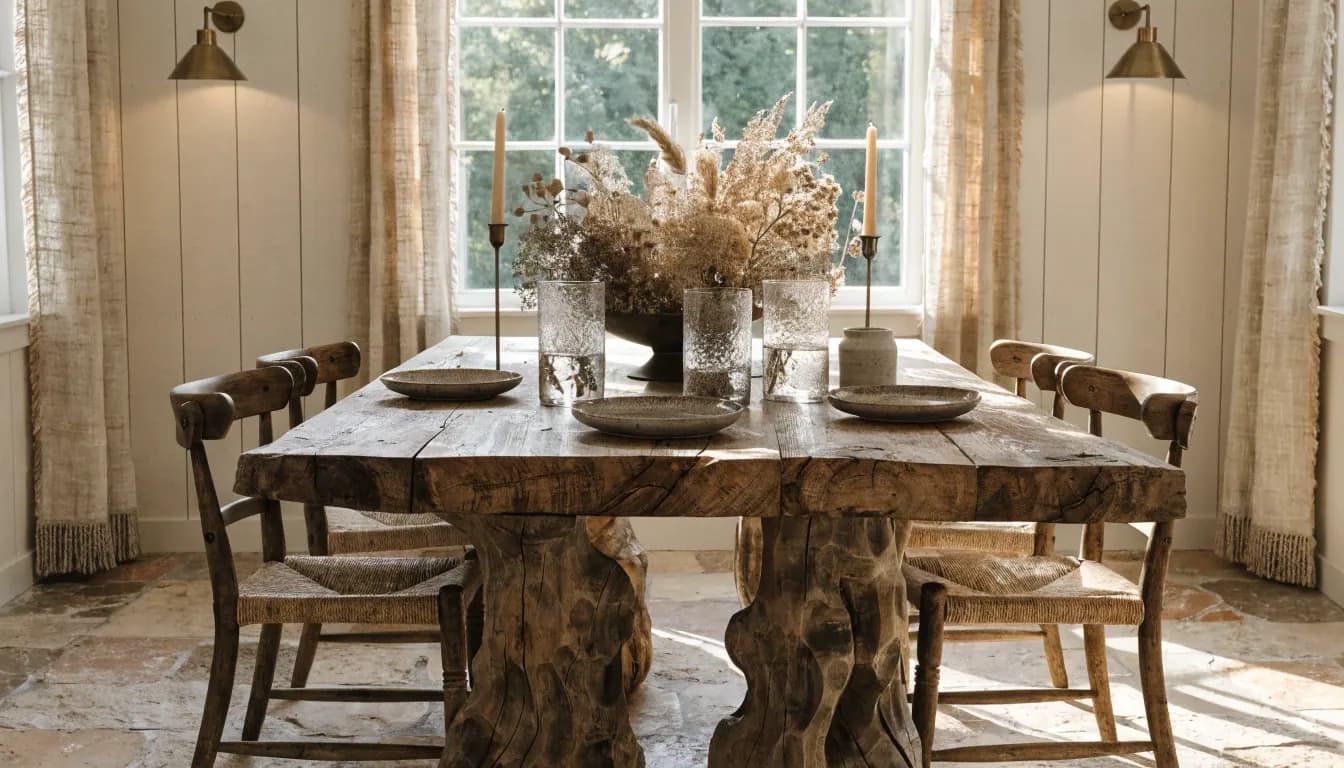
Compare a storage-space aesthetic
Explore lighter, darker or more minimal visual treatments. Generated shelves and drawers are suggestions in an image, not editable storage modules.
Compare a storage-space aestheticIllustrative concept
Feature · 02
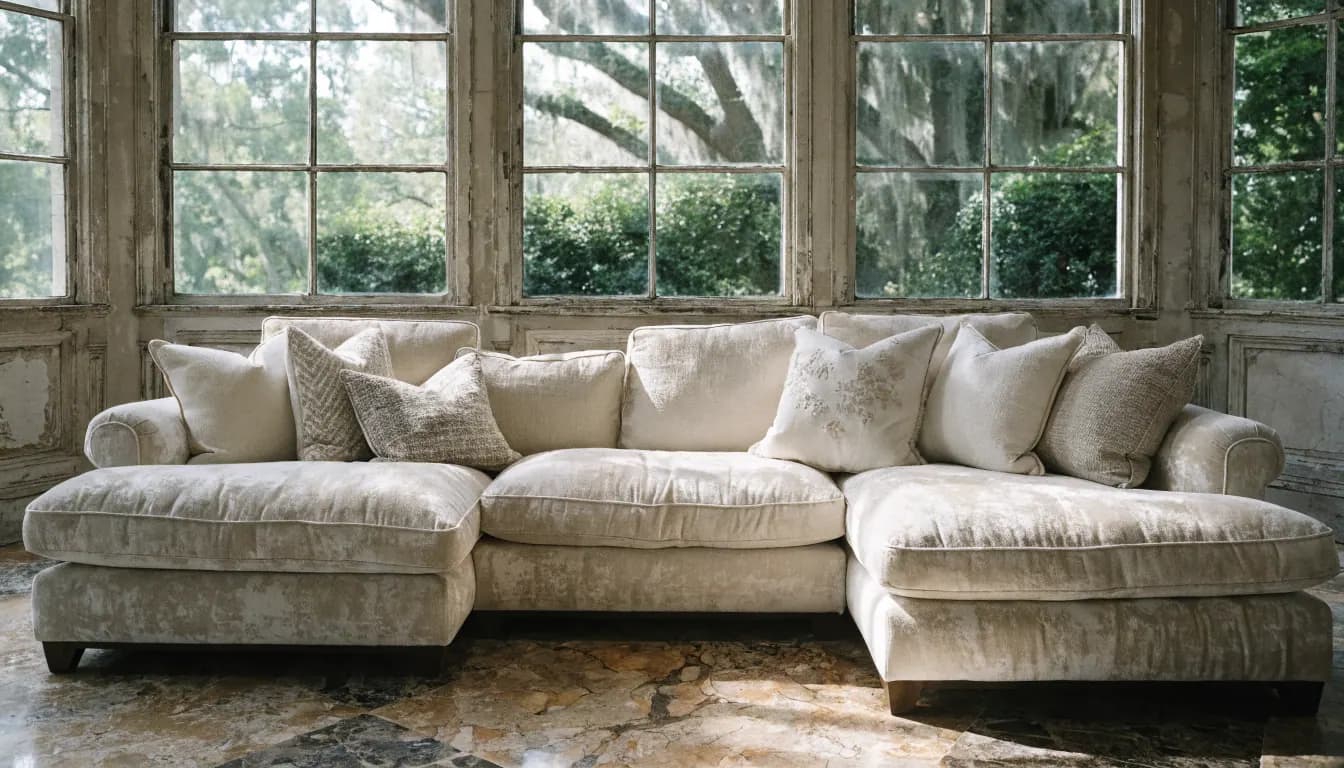
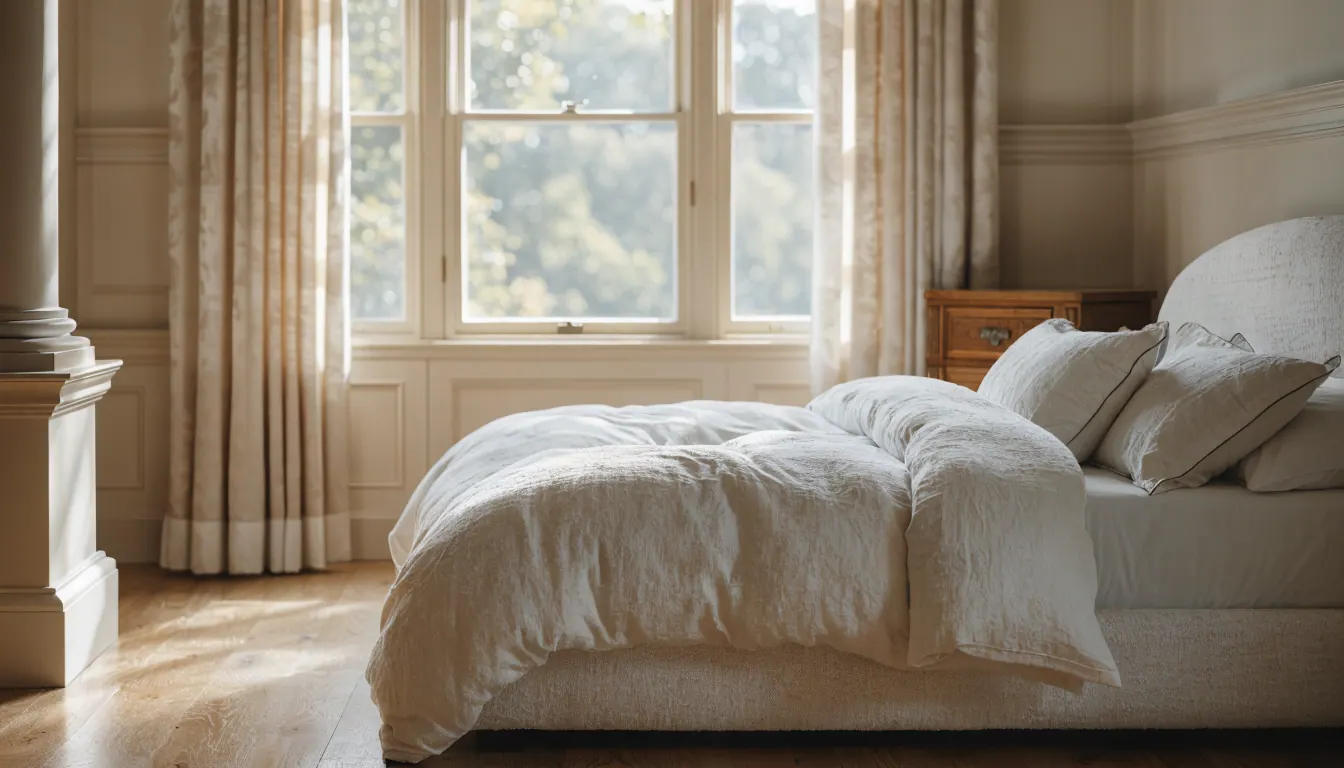
Coordinate closet and bedroom
Consider the finish beside the bedroom palette. Use the room visualizer when the wider room needs a style direction; it opens the same interior workflow for a different room photo.
Coordinate closet and bedroomIllustrative concept
Feature · 03
Write a practical storage brief
List what you store and which access problems matter before speaking to a designer. Studio does not count garments or calculate the hanging space they need. Separate long hanging items, folded clothes, shoes and bulky storage; note what you need to reach every day and what can sit higher. If the space is overfilled, use the room-reset checklist before assuming more cabinetry is the answer.
Write a practical storage briefIllustrative concept
Feature · 04
Check the things a photo cannot prove
Confirm drawer clearance, door swings, load capacity, fixing points and access with your installer. Do not order cabinetry from AI-generated proportions.
Check the things a photo cannot proveIllustrative concept
FAQ

AI Closet Design, answered.

Updated September 2026
No. There is no measurements export, shelf-spacing schedule or cutting list. Measure the actual space and have the installer verify the design.
There is no dedicated closet-type selector in the current Studio. Start from a photo of the space and an interior preset, or use a paid Custom prompt for a written visual request.
Treat it as inspiration. A cabinet maker must turn any useful idea into a measured, buildable design. The generated image does not guarantee capacity, fit or safe installation.
Record the opening width at the top, middle and bottom; floor-to-ceiling height at more than one point; and usable depth on both sides. Note skirting boards, sloped ceilings, sockets, vents and any obstructions. Measure nearby door swings and the space in front for opening drawers. Label the measurements on your own sketch with units and have your cabinet maker verify them. Studio does not read or export these measurements.
Generate one concept, then check whether it suggests a useful balance of hanging, shelves and drawers for your storage list. Mark any blocked door, missing obstruction or unreachable shelf. Use the image to discuss the appearance; use your measured sketch and the installer’s design to decide capacity and fit. Each additional image uses another credit.
An account is required to generate. The trial provides three one-time image credits for preset-based concepts, including Interior restyle. Custom prompt requires a paid plan. Check the pricing page for plans and credits when you need more generations.

Explore a photo concept in Studio.

An account and credits are required to generate. Custom prompt and video require paid access. Review the available mode and pricing before starting.

Open Interior restyle →

Available on the App Store. Android coming soon.

Free trial
Open Interior restyle
→