Interior Design

Rug Visualizer

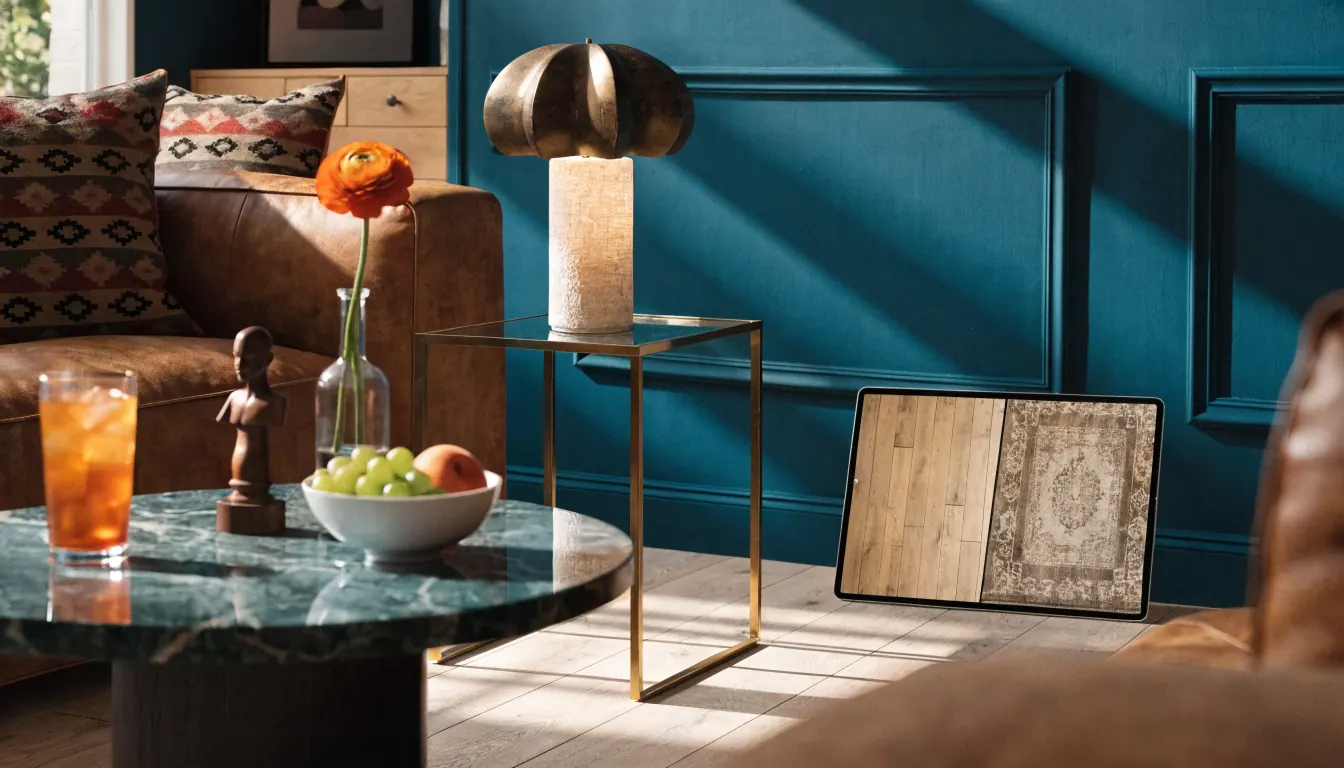
Explore a rug colour or pattern concept in your room using the paid Custom prompt mode. This is an approximate photo edit: it does not provide rug-size controls, exact retailer-product matching or a fit guarantee.

Describe a rug appearance in Custom prompt (paid plan). There are no rug-size controls or verified exact-product/scale matching. An account is required to generate. Image generations use one credit; Custom prompt requires a paid plan. See pricing for allowances. View plans and credits.
Varies by imageRender time
Design previewOutput
.jpg, .pngPhoto input
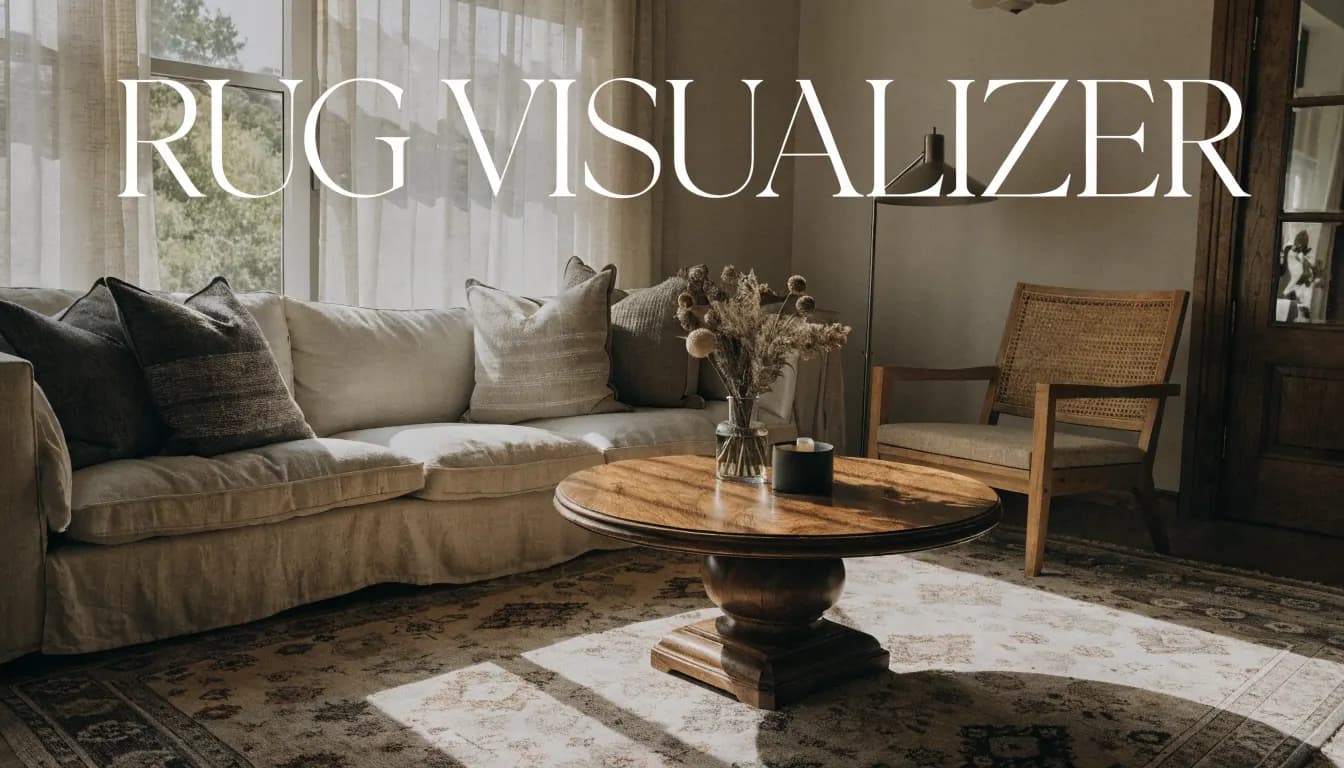
Rug Visualizer hero
How to use

Three steps, start to finish.

Start with a photo, choose a direction and review the generated concept.

01
Photograph the floor area
Include the sofa, table and floor around them in a clear JPG or PNG. Separately measure the usable space and check the retailer’s stated rug dimensions.
02
Describe a visual rug idea
Open Custom prompt, upload the room photo and describe a rug appearance. For example, ask for a muted geometric rug under the coffee table. This mode requires a paid plan.
03
Compare appearance, then measure
Generate one concept for one image credit. Inspect the furniture and floor for unwanted changes. Use tape and real measurements to check size; order physical samples where available.
Pro tips

Better briefs, better renders.

Prepare a clearer brief and check the details that matter in your result.

Tip · 01
Use high-quality photos
Upload sharp images shot at 1024px or larger. Well-lit, in-focus photos produce sharper, more realistic output.
Tip · 02
Lighting matters
Even, natural daylight reads best. Avoid harsh shadows or overly dark corners. The model infers material from light.
Tip · 03
Try multiple styles
Run the same room through two or three directions before locking one. You often discover a look you hadn't imagined.
Tip · 04
Clear the clutter
Minimal clutter lets the model understand room structure. Tidy visible surfaces before you shoot.
Tip · 05
Shoot multiple angles
Generate from the door, from the window, from the corner. The best angle is rarely the first one you try.
Tip · 06
Save and compare
Keep a project for each space. Compare variants side-by-side, share them with contractors, and refine from there.
Features

Everything you need, nothing you don't.

Capabilities designed to move a single decision from guesswork to clarity.
Feature · 01
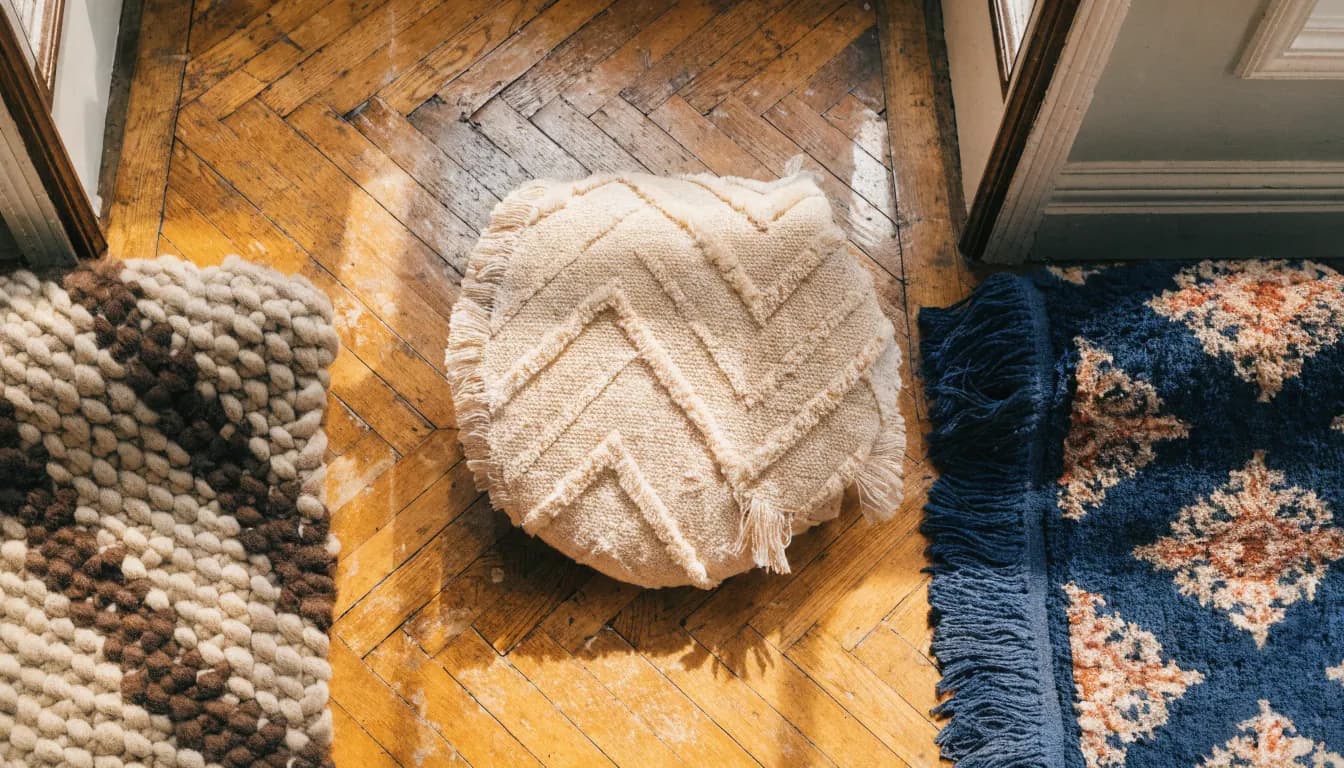
Explore a palette with your room
Use the image to consider warm versus cool colours or quiet versus busy patterns. Generated colours and textures may differ from real products and screens.
Explore a palette with your room
Feature · 02
Keep sizing outside the render
A typed size does not calibrate the photo. Check the rug footprint, doors and walking routes with a tape measure before buying.
Keep sizing outside the render
Feature · 03
Understand the reference-image limit
This entry does not offer a dedicated rug-reference upload. Furniture preview is a separate two-photo mode; exact rug matching has not been verified.
Understand the reference-image limit
Feature · 04
Separate a rug from a floor replacement
The Flooring mode changes floor materials such as wood, tile or carpet. A loose-rug concept belongs in a written image request, not a floor-material preset.
Separate a rug from a floor replacement
FAQ

Rug Visualizer, answered.

Updated September 2026
No. The image is not calibrated to real dimensions. Compare retailer dimensions with the room using physical measurements.
No exact-product match is promised. Use the retailer’s photos, samples and return terms for the purchase decision.
The page opens Custom prompt, which requires a paid plan. Each generated image uses one credit. Opening Studio does not create a free result.

Explore a photo concept in Studio.

An account and credits are required to generate. Custom prompt and video require paid access. Review the available mode and pricing before starting.

Open Custom prompt

Available on the App Store. Android coming soon.

Free trial
Open Custom prompt