
Home Design
AI Home Photo Enhancer
Clean up home photos in seconds. Fix lighting, sharpen details, straighten verticals, and declutter rooms so your listing, portfolio, or share-ready photos look professional.
How to use
Three steps, start to finish.
No CAD training, no mood-boarding rabbit holes. A photo in, a photoreal render out.
01
Upload the room photo
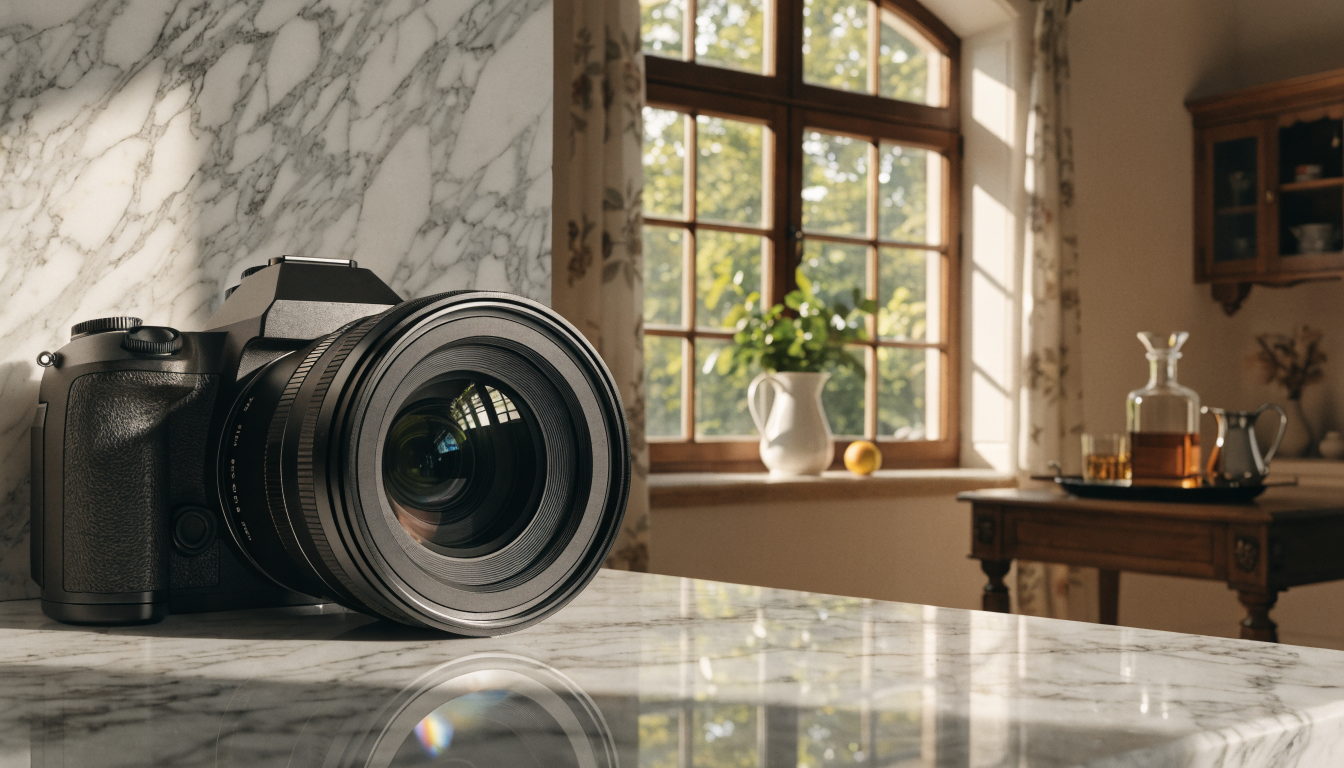
Drop in a JPG or PNG shot from a phone, DSLR, or drone. Higher resolution gives the enhancer more data to work with, but even a quick phone shot cleans up well when the frame is straight and well lit.
02
Pick the fixes you want
Brighten the room, sharpen details, straighten verticals, pull the white balance toward neutral, or clear clutter off surfaces. Pick one or all, and the enhancer applies the fixes in a single pass.
03
Review, tweak, download
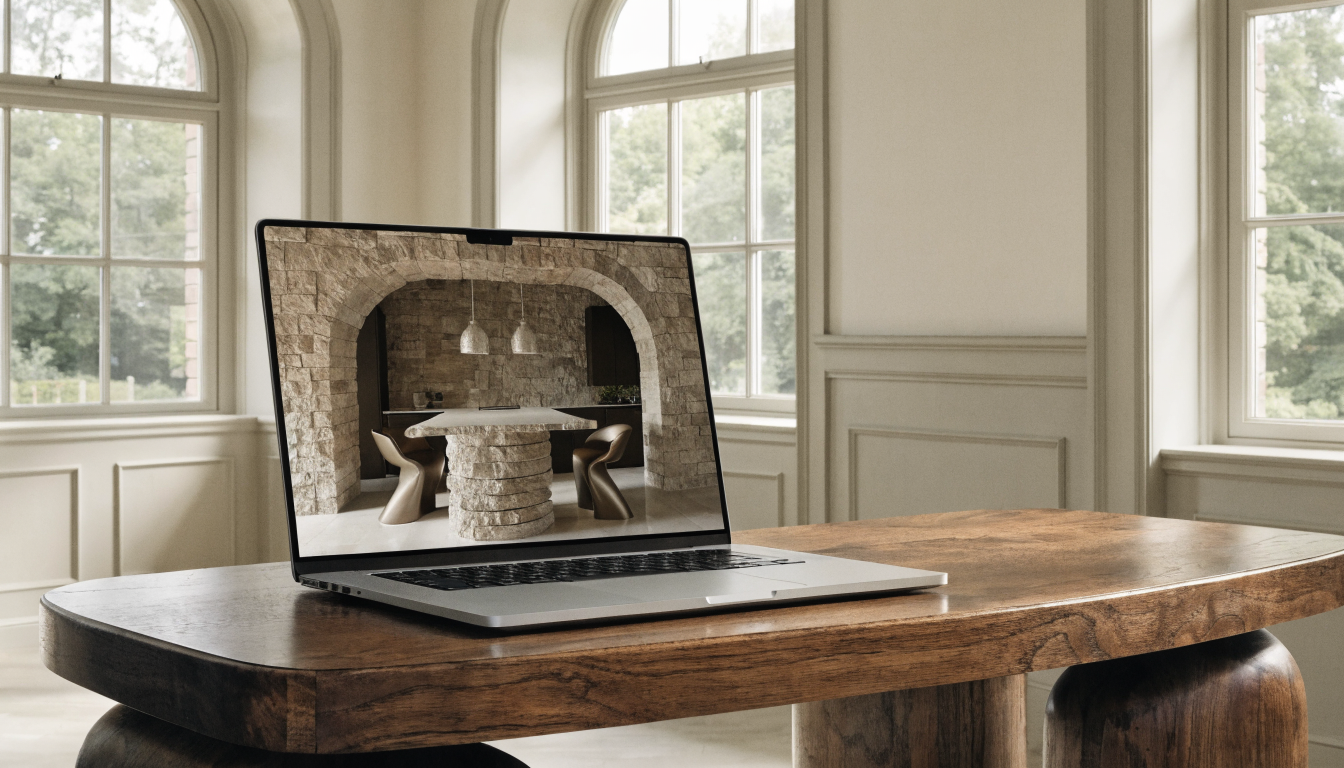
Compare the original and the enhanced version side by side. If a fix went too far, dial it back in plain language. Download the final image at listing resolution when you are happy with the result.
Pro tips
Better briefs, better renders.
Six habits that consistently produce sharper, more believable, more useful output.
Tip · 01
Use high-quality photos
Upload sharp images shot at 1024px or larger. Well-lit, in-focus photos produce sharper, more realistic output.
Tip · 02
Lighting matters
Even, natural daylight reads best. Avoid harsh shadows or overly dark corners. The model infers material from light.
Tip · 03
Try multiple styles
Run the same room through two or three directions before locking one. You often discover a look you hadn't imagined.
Tip · 04
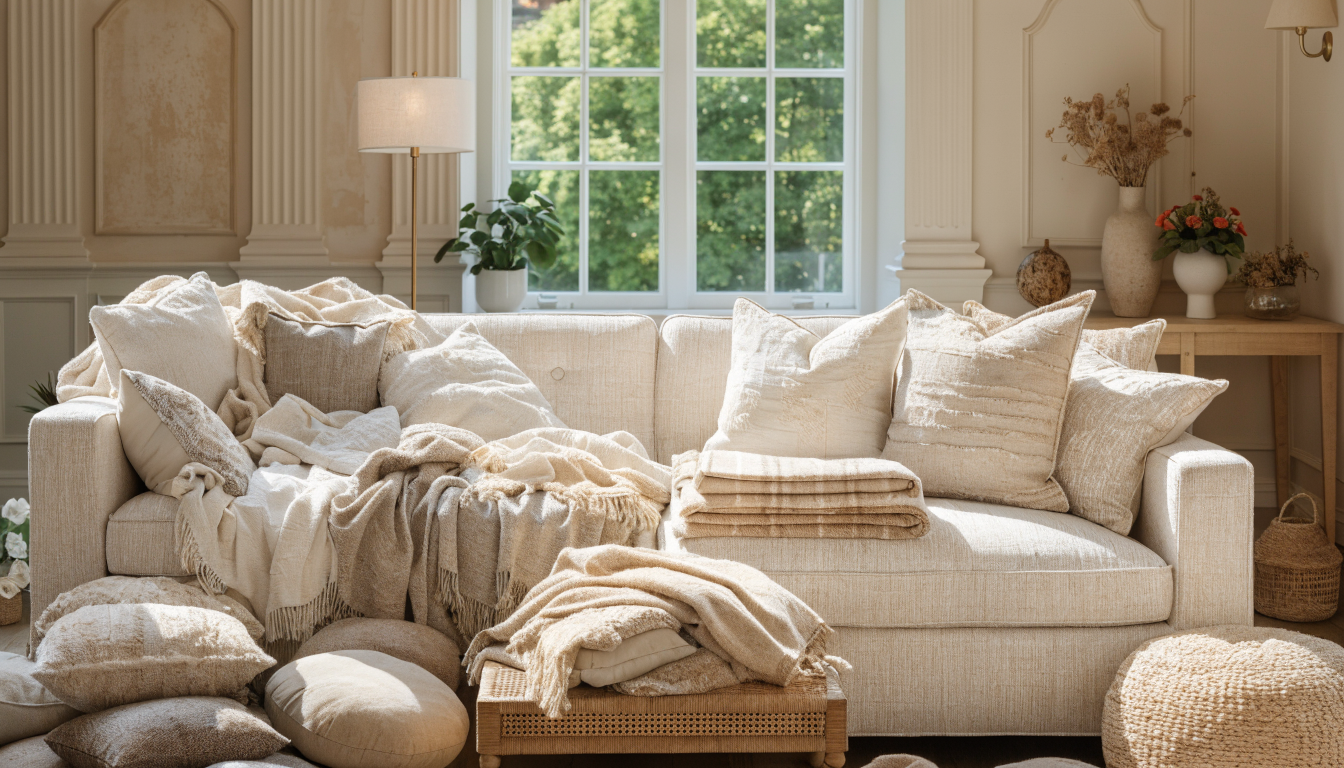
Clear the clutter
Minimal clutter lets the model understand room structure. Tidy visible surfaces before you shoot.
Tip · 05
Shoot multiple angles
Generate from the door, from the window, from the corner. The best angle is rarely the first one you try.
Tip · 06
Save and compare
Keep a project for each space. Compare variants side-by-side, share them with contractors, and refine from there.
Features
Everything you need, nothing you don't.
Capabilities designed to move a single decision from guesswork to clarity.
Feature · 01
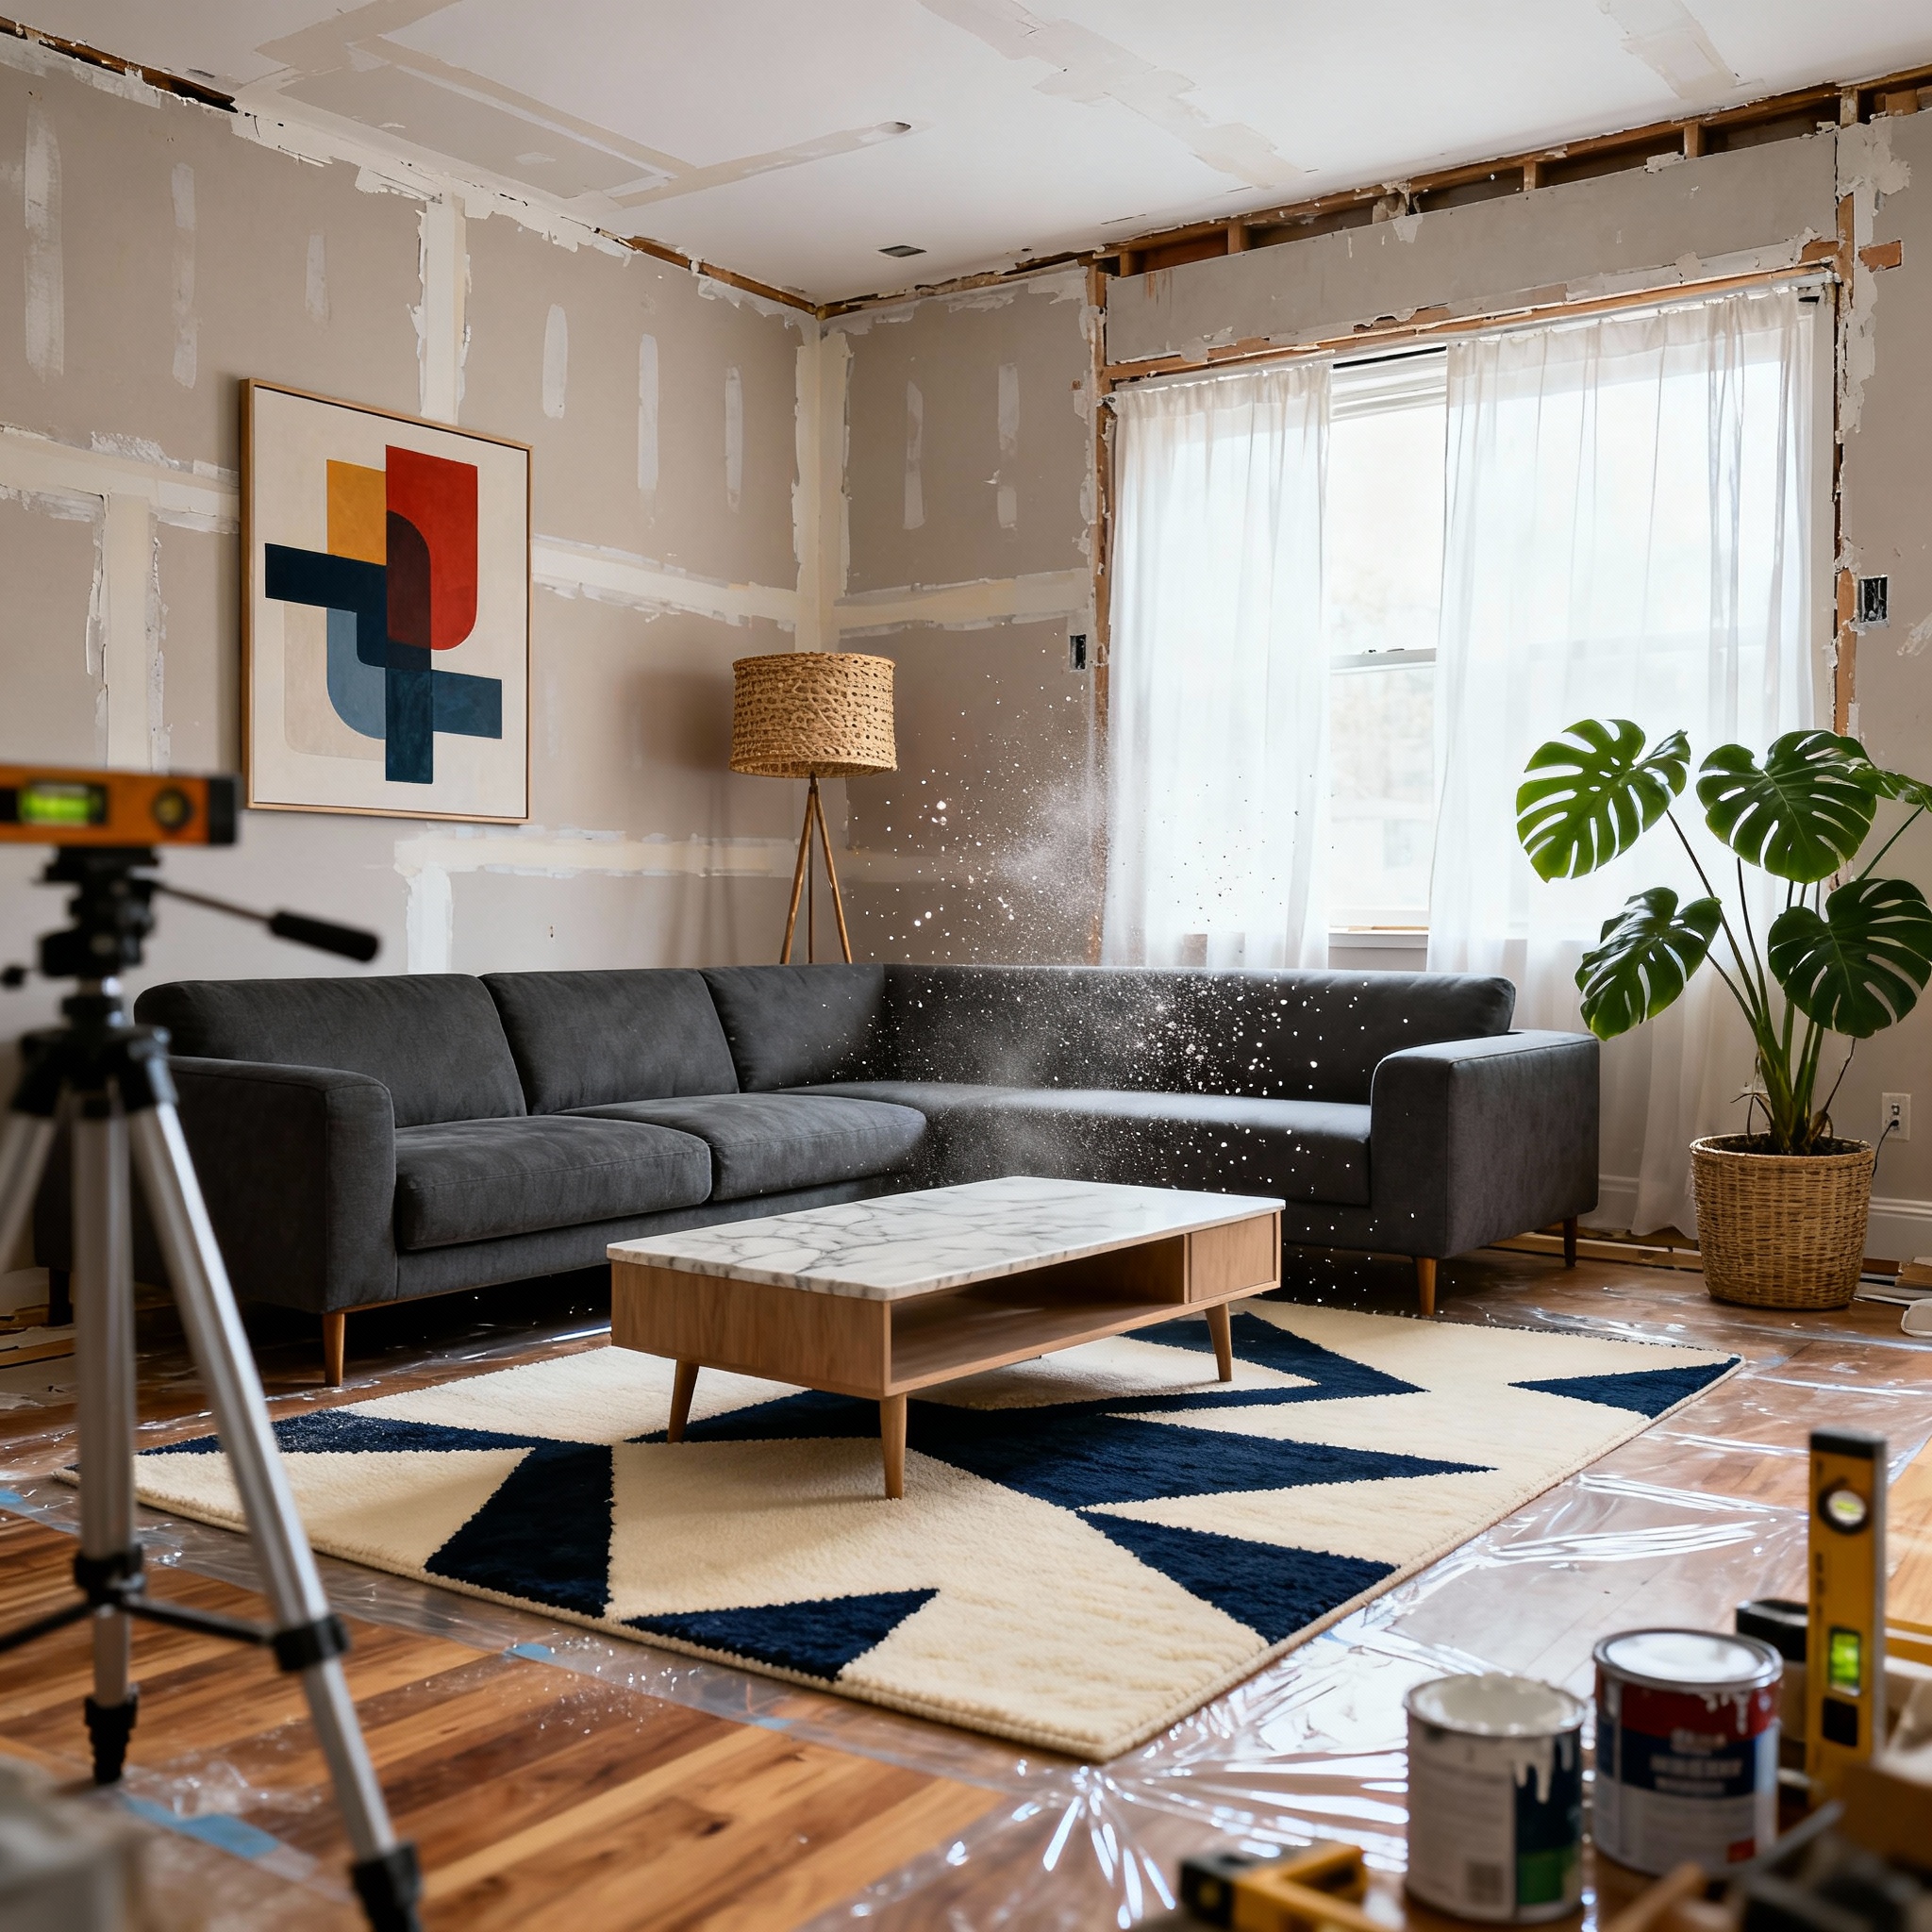
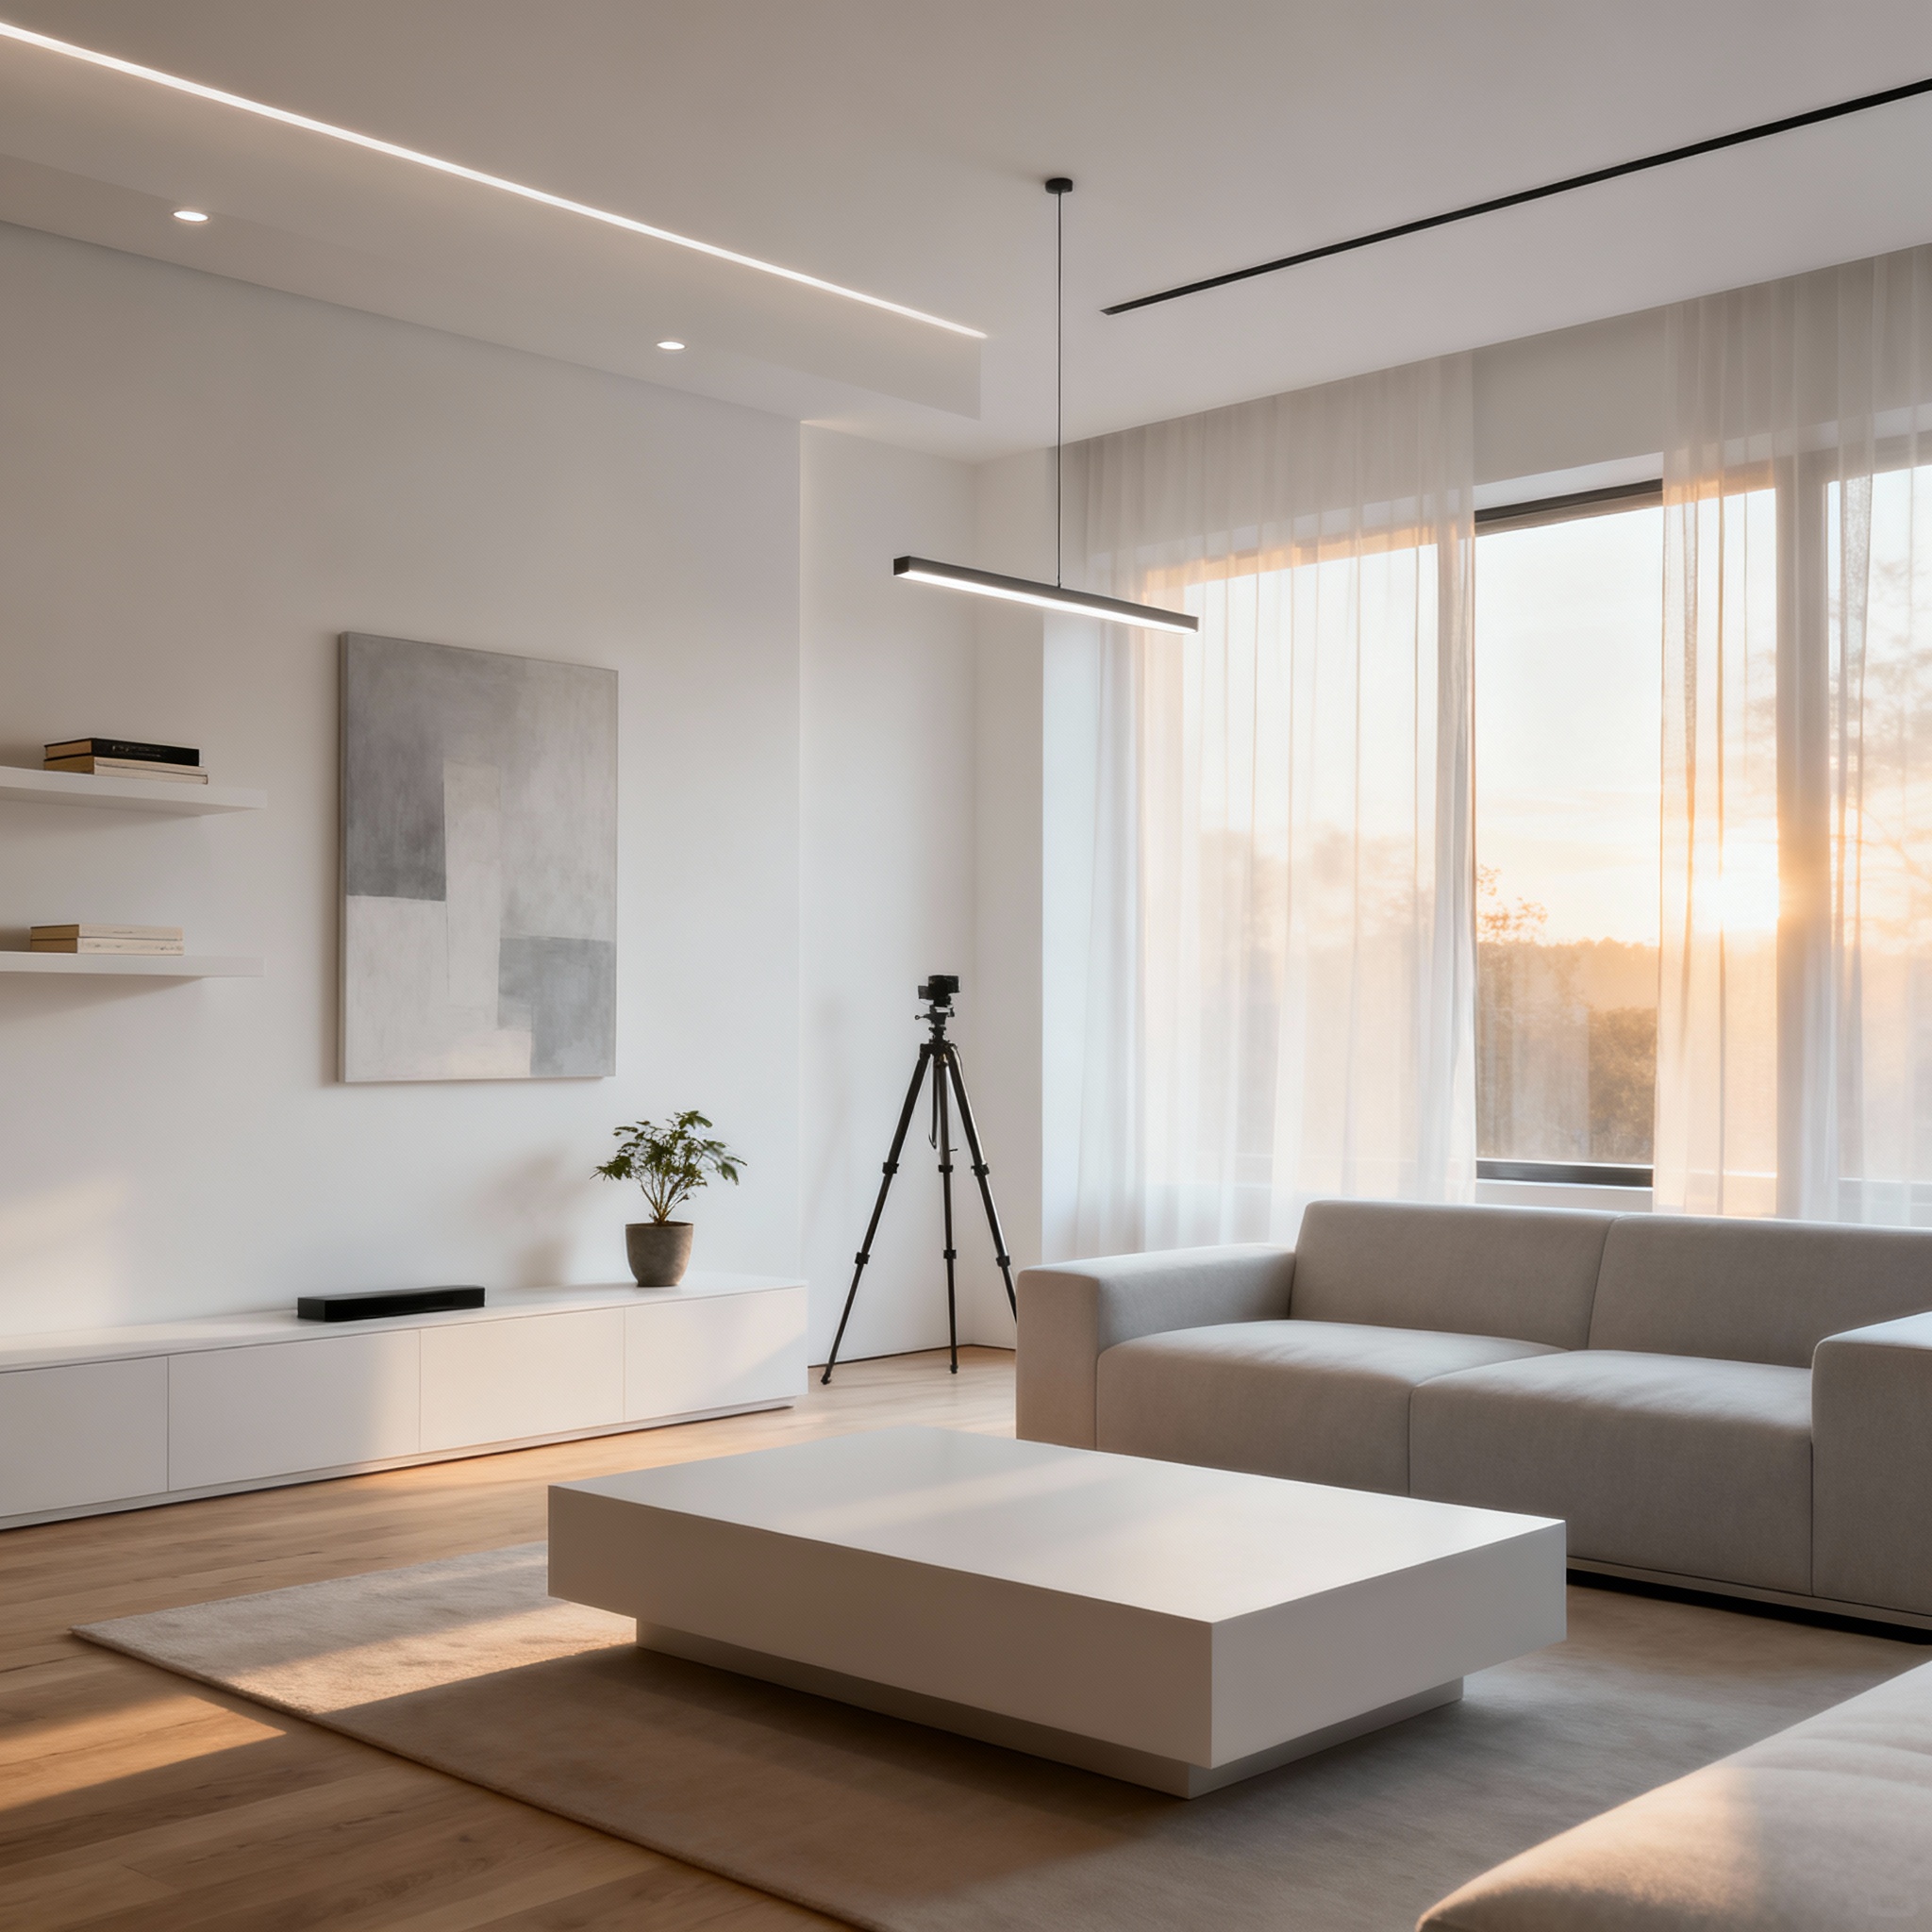
Brighten and balance home interiors fast
Fix flat or yellow lighting in one pass and the room reads like a daylight shot. Useful for agents and homeowners, and pairs with the real estate photo editing tool when you need batch edits across a listing.

Feature · 02
Straighten verticals and fix lens distortion
Wide phone lenses bend walls outward. The enhancer pulls verticals straight and corrects the lens bow so the room looks proportioned. Works alongside the real estate photography editing tool for full listing sets.
Feature · 03
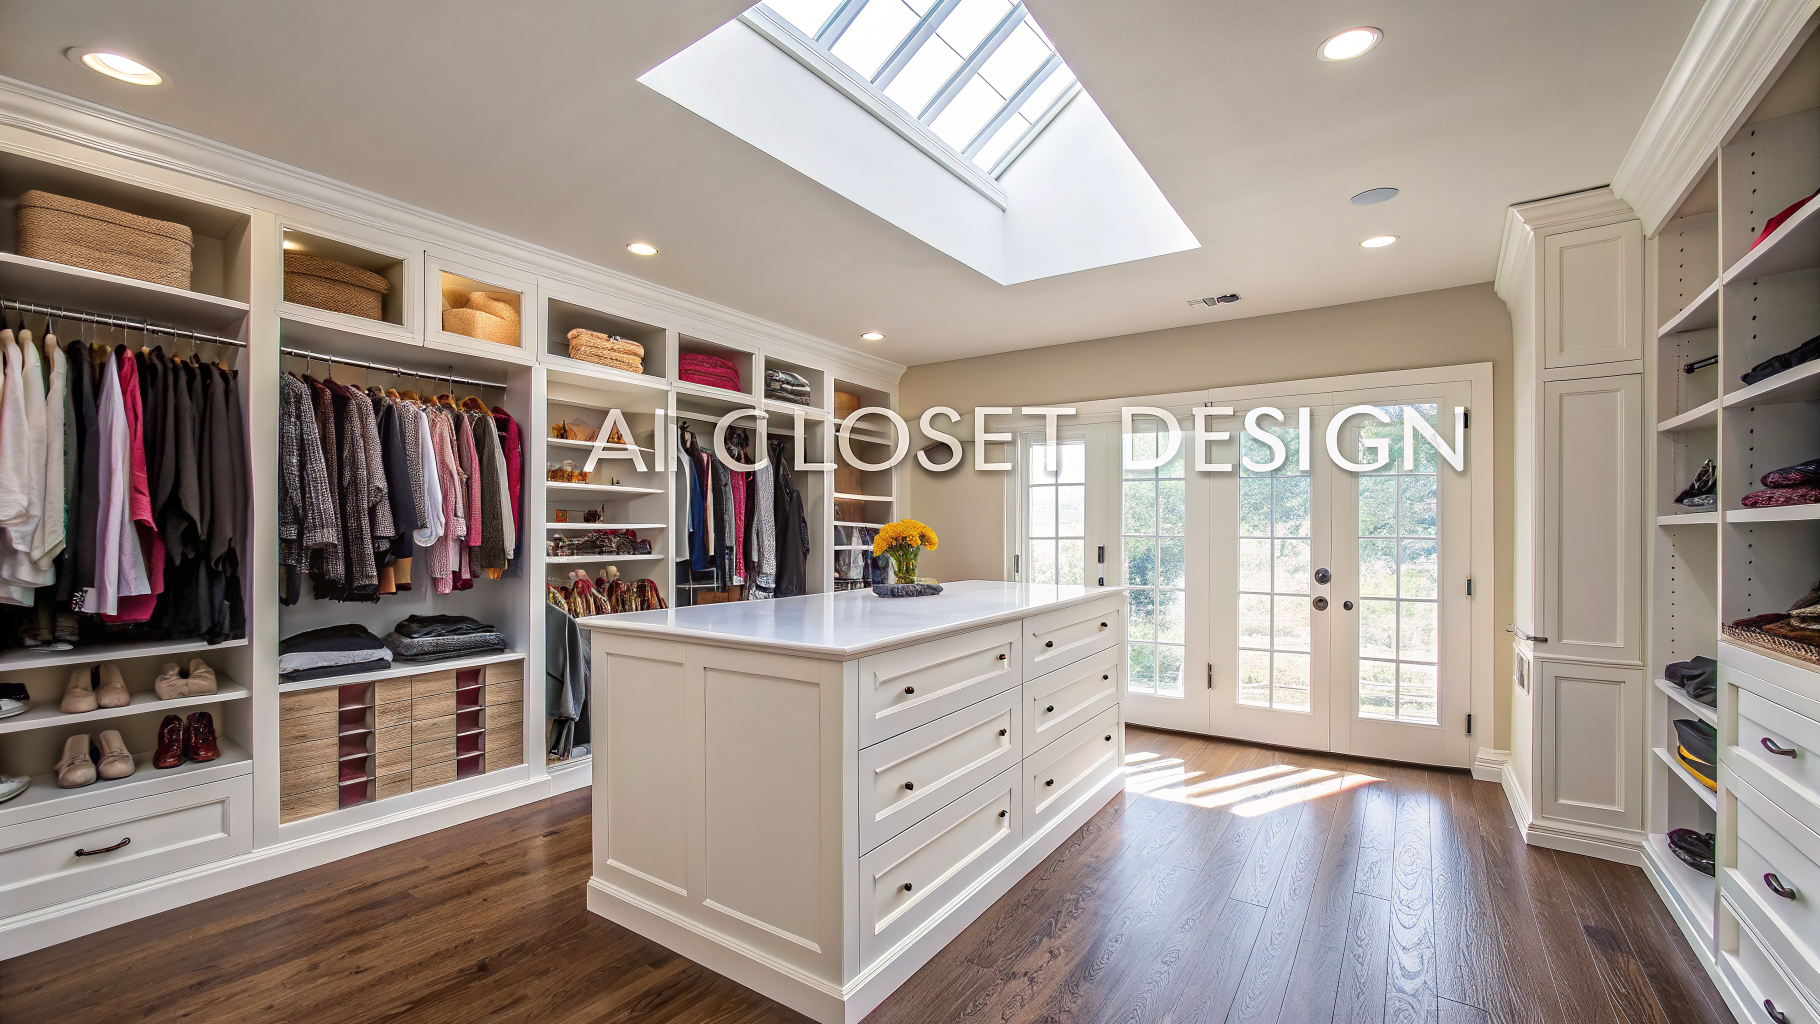
Clear clutter from counters and floors
Remove distracting items without a reshoot. Papers, cords, remotes, and random boxes come out cleanly so the focus stays on the space itself. Pairs with the declutter AI tool when the room itself needs a full tidy pass.

Feature · 04
Sharpen detail without the plastic look
Gentle sharpening across wood grain, fabric texture, and architectural trim. The enhanced photo reads crisper without the over-processed feel that ruins real estate shots. Skip the preset packs, adjust in plain language instead.
Feature · 05
Pair with virtual staging for an empty listing
Enhance a vacant room, then send it into the virtual staging tool to fill it with furniture. The cleaner the input photo, the better the staged result reads to buyers browsing listings online.
FAQ
AI Home Photo Enhancer, answered.
Updated April 2026
A tool that cleans up home photos in seconds. Brightness, white balance, verticals, sharpness, and small clutter all get fixed in one pass. Designed for listing agents, stagers, and homeowners sharing photos online.
Generic enhancers push contrast or saturation across the whole image. This one is tuned for interior rooms. It knows what neutral walls, daylight, and straight architectural lines should look like, and edits toward those targets by default.
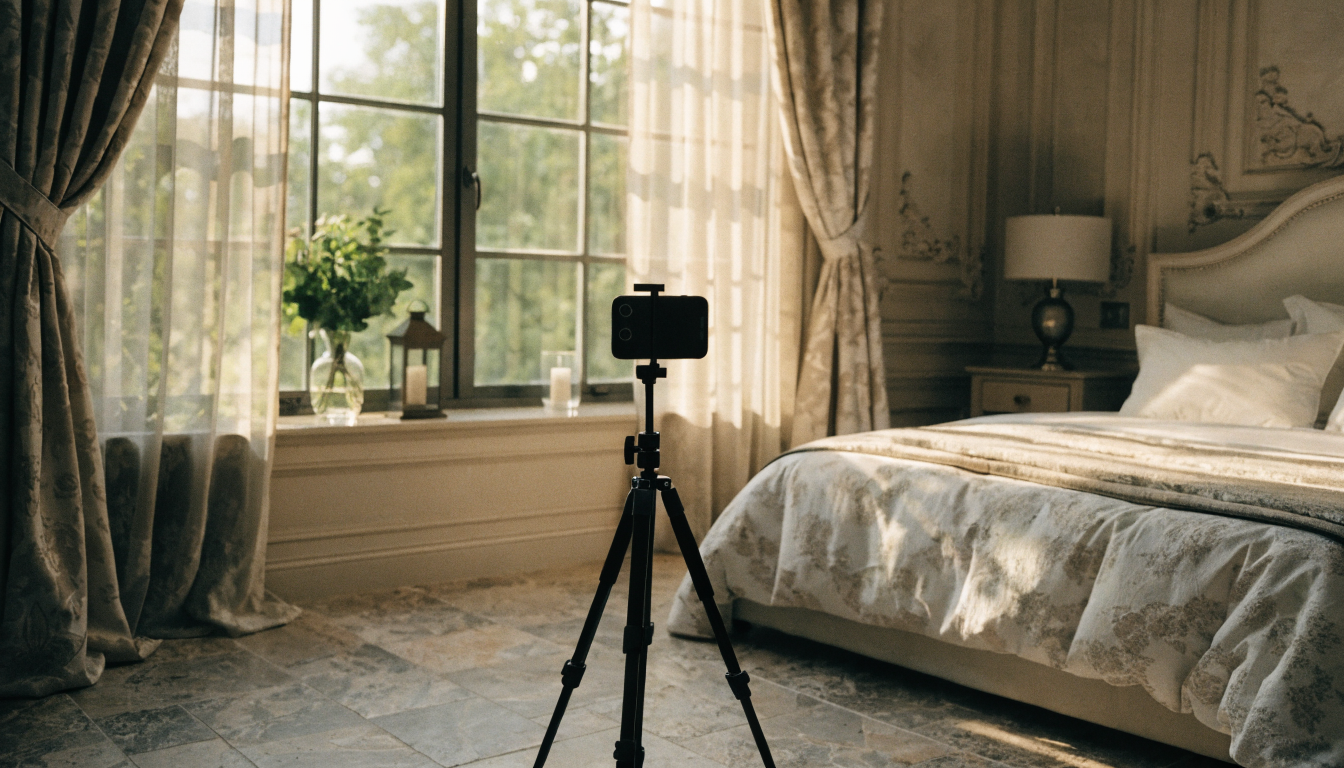
Yes. Phone photos are the most common input. Shoot from a corner with the room well lit, keep the phone level, and the enhancer handles the rest. DSLR and drone photos work too and tend to give the cleanest output.
No, if you keep the edits moderate. Over-sharpening and heavy decluttering are what make enhanced listings look fake. Dial back the amount in plain language, and the final photo reads like a well-shot original rather than an edited one.
Select the clutter removal option and the enhancer clears common offenders. Papers, cords, remotes, boxes, and personal items on flat surfaces. For heavier tidying, redraw the surfaces entirely instead of asking the enhancer to remove large items.
Yes. Agents use it to turn phone walkthroughs into listing-grade photos in minutes. Pair the enhanced photos with virtual staging on vacant rooms, and a listing can go live with a full set of clean images the same day the walkthrough was shot.
Yes. Curb shots, backyards, and patios all enhance well. The model handles sky replacement, lawn greening, and vertical straightening. Keep the edits moderate so the exterior reads honest, and the listing holds up to buyer visits later on.
AI Home Photo Enhancer is a render away.
Start for free. No card, no commitment. See your space the way it could be before you commit to the way it will be.
Try AI Home Photo Enhancer free →Available on the App Store. Android coming soon.
Free trial
See your space